


When I’m working with Squarespace, one of the things I appreciate most is how easy it is to work with events. It’s a straightforward system that doesn’t require a background in web development to master. Using the Richard Wood website I built in the past, I’ve created a guide to help you manage events on your own Squarespace website.
Adding a New Event
To begin, you must have an Events Page in your main navigation or “Not Linked” section.
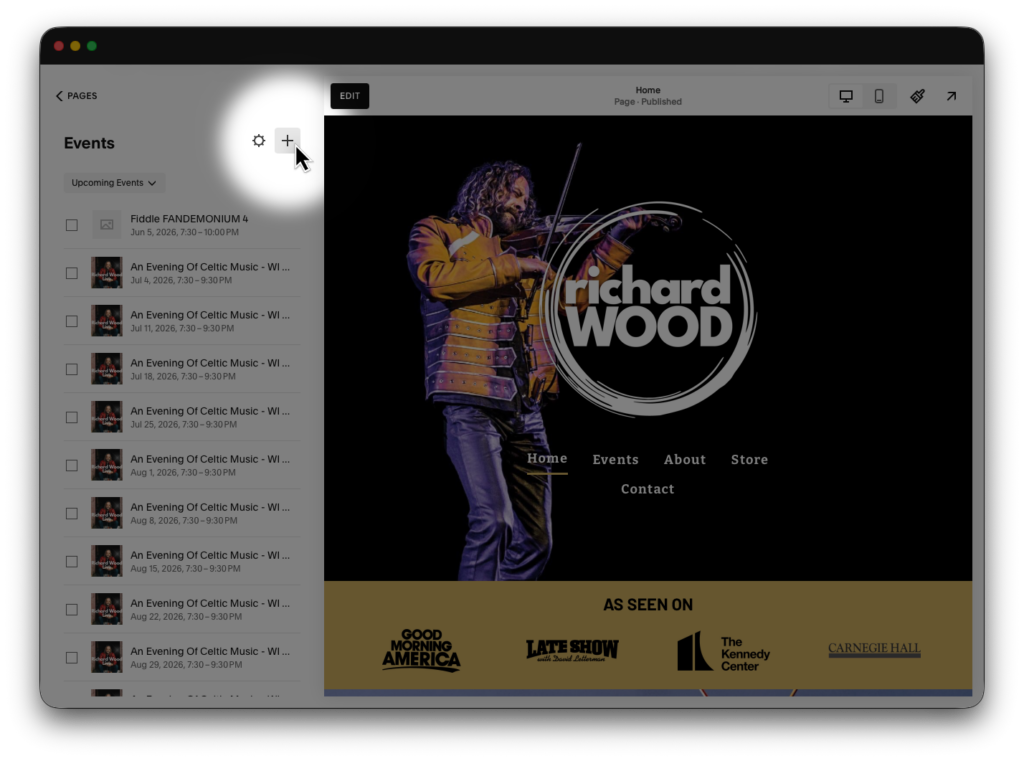
- From the Pages menu, select your Events Page.
- Click the + (Plus) icon in the top right corner of the side panel.
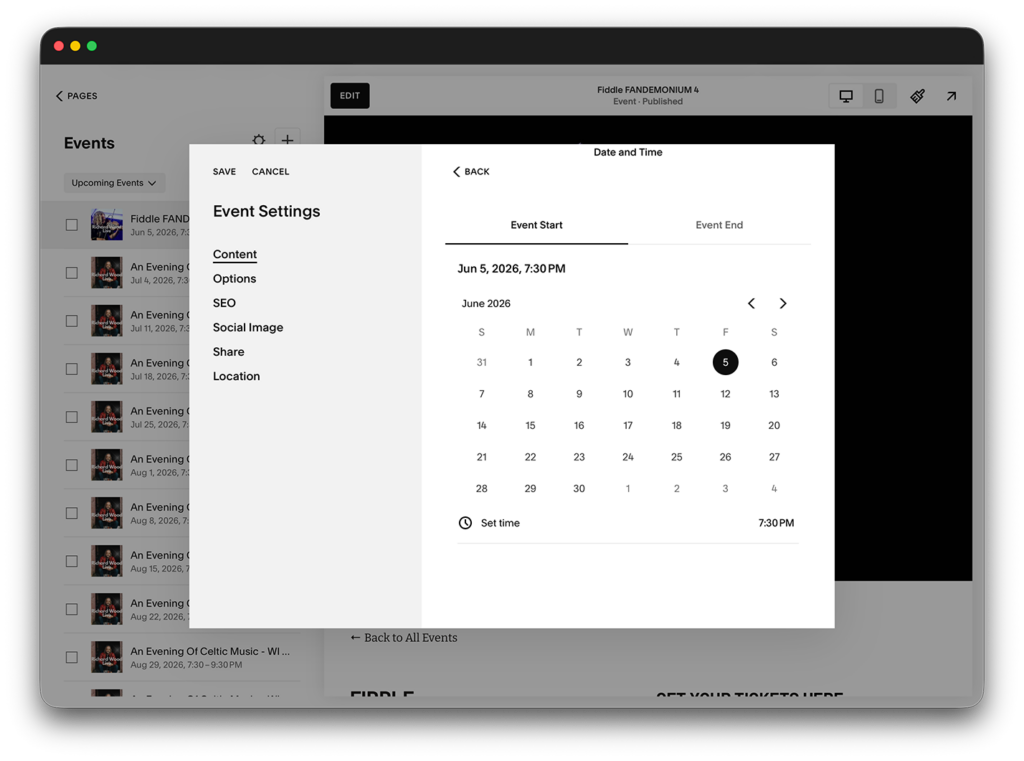
- A new event window will open. Start by entering your Event Title.
- Use the Date and Time selectors to set your schedule. There must be both a start and end time.
Pro Tip: Timezones can affect when the event appears as scheduled. To ensure this behaves as expected, you may need to change the regional settings of the website.
Duplicating Events
If you host recurring workshops or events with similar formatting, duplicating is a massive time-saver. It carries over all your content so you only have to swap the specific details.
- From the Pages menu, select your Events Page.
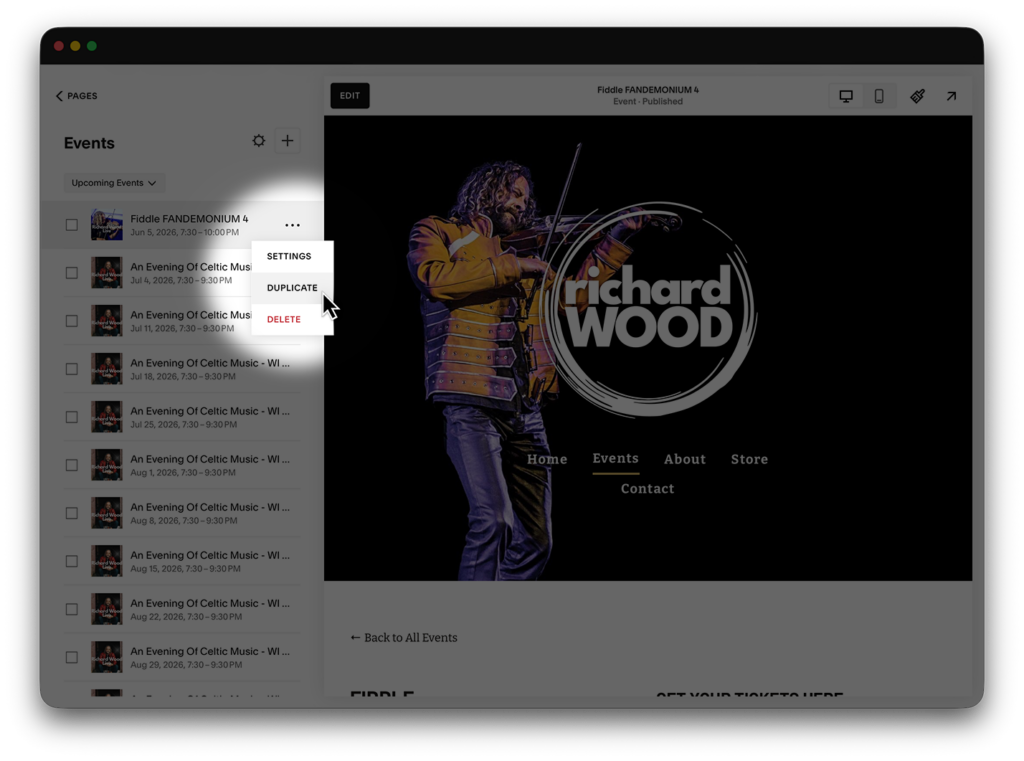
- In the side panel, hover over an existing event that looks like the one you want to create.
- Click the … (three dots) icon.
- Select Duplicate.
- Crucial Step: Immediately open the Settings (the gear icon) of the new draft to update the Title, Date, and URL. Squarespace will automatically change the end of the URL to be different (e.g.
/new-event-1), so be sure to rename it to something more suitable.
Modifying Event Content
Once the basic details are set, you can treat the event like any other page on your site.
- Select the event you want to modify by clicking it once from the panel on the left. (If you can’t see a list of your events on the left of your window, ensure you’re in the Squarespace editor and have selected your event page from the website page list.)
- Select edit on the top of your screen, next to the event list. You will now be in the editor.
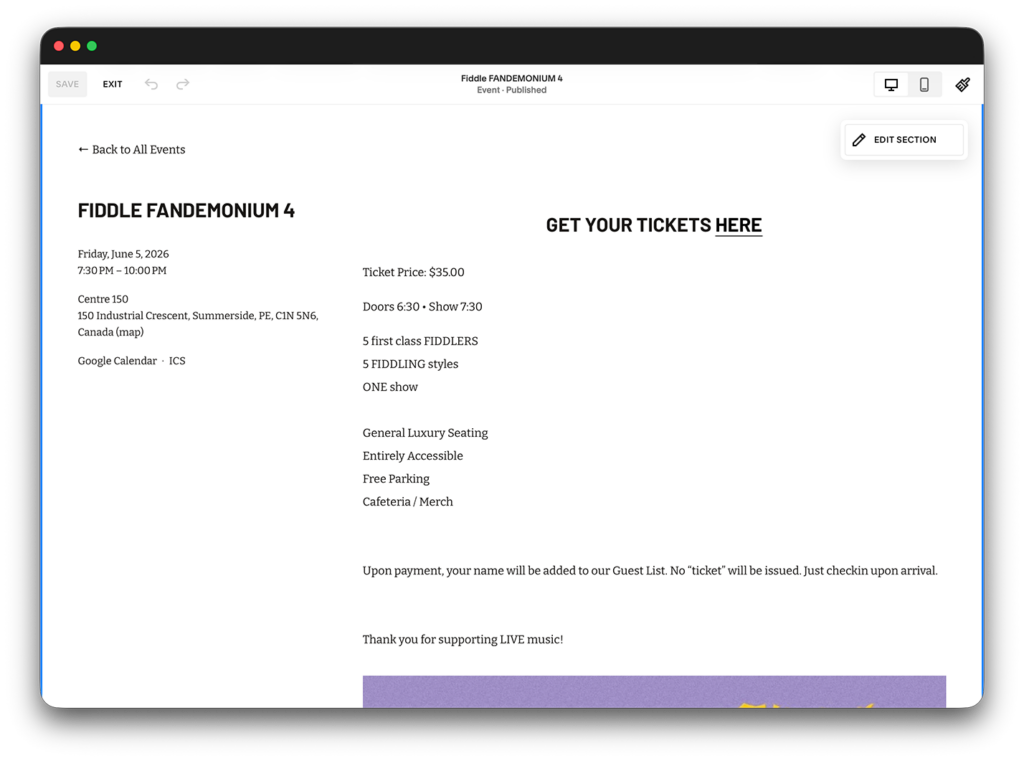
Now that you’ve accessed the editor, you’ll be able to change how your event looks when a user choses this event. You can use this “Page Content” area to add text, images, or buttons. This is where you describe the event in detail. This is also an easy way to change the name of your event, when the event is scheduled, and the address of the event, all of which can be changed by clicking on them once.
Featured Image: Always upload an image in the Content tab of the settings menu. This acts as the thumbnail for the event, and can be seen elsewhere on your website such as in the event listing or a calendar.
Setting The Location
If you host recurring workshops or events with similar formatting, duplicating is a massive time-saver. It carries over all your layout blocks and styling so you only have to swap the specific details.
- In the Events side panel, hover over the event you wish to copy.
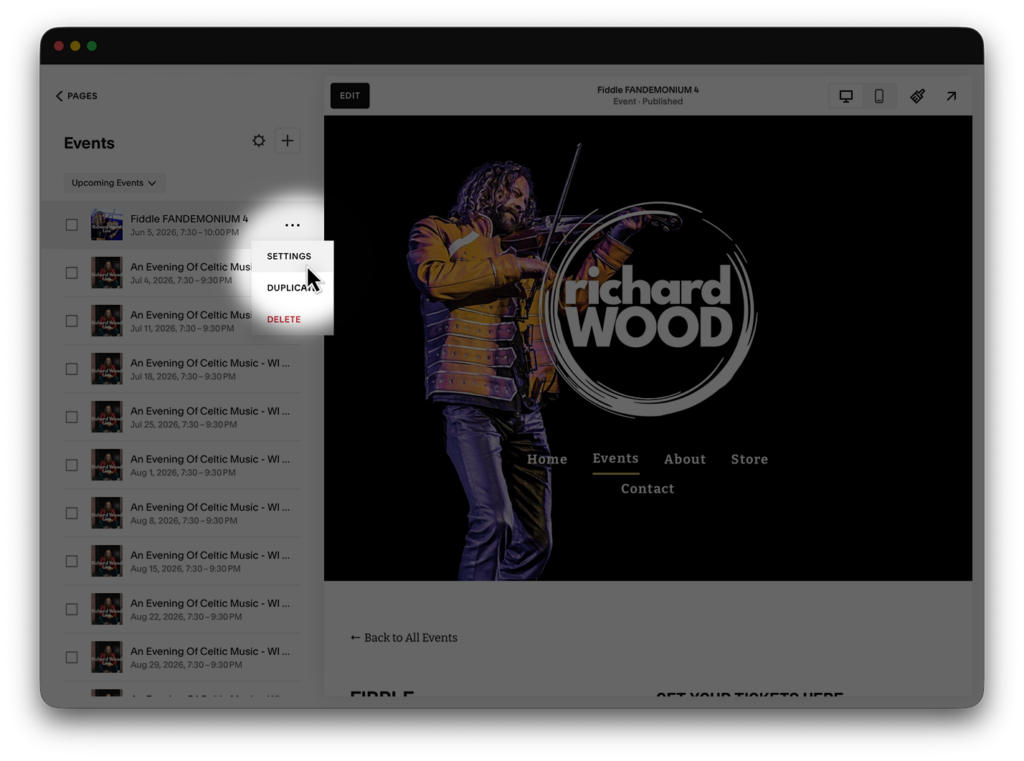
- Click the … (three dots) icon.
- Select Settings.
- Select Location.
- Input the address for the event. This is saved once you close this panel.
Removing or Archiving Events
Keeping your site clean is just as important as adding new content. You have two main options for removing events:
- Deleting: If an event was created in error or is no longer relevant, hover over it in the panel, click the … icon, and select Delete. This is permanent.
- Draft Mode: If you want to take an event off the live site but not completely delete it, go into the event settings and change the status from Published to Draft.
Pro Tip: Past events automatically move to a “Past” category on your live site, so you don’t necessarily need to delete them. Keeping them visible can actually help your search results by showing a history of activity.
Essential Details Checklist
Before you hit “Publish,” double-check these areas:
- Status: Is it set to Draft, Scheduled, or Published? People who visit your website will only see an event if it’s published.
- Date & Time: Is it set as you intended? This value will determine when your event appears on lists and calendars across your website.
With these essential tips, you’ll be sure to become a master Squarespace event manager in no time.